
How do you take good food photographs that do justice to the quality of your dishes? And above all, how do you do it without spending a fortune? Caterer Manager shares a few simple tips to add punch to your photos of prepared meals!
1. Bring your food photos to life
Your dishes deserve to be showcased to create a WOW effect! To do this, you need to place your food in an interesting context: a setting or "staging" that evokes the pleasure of eating it.
Choose your serving dishes carefully. Make sure they are in harmony with the image you want to project. Add kitchen utensils that were used to prepare the dish in the background, for example a whisk, a nice bowl or a napkin.
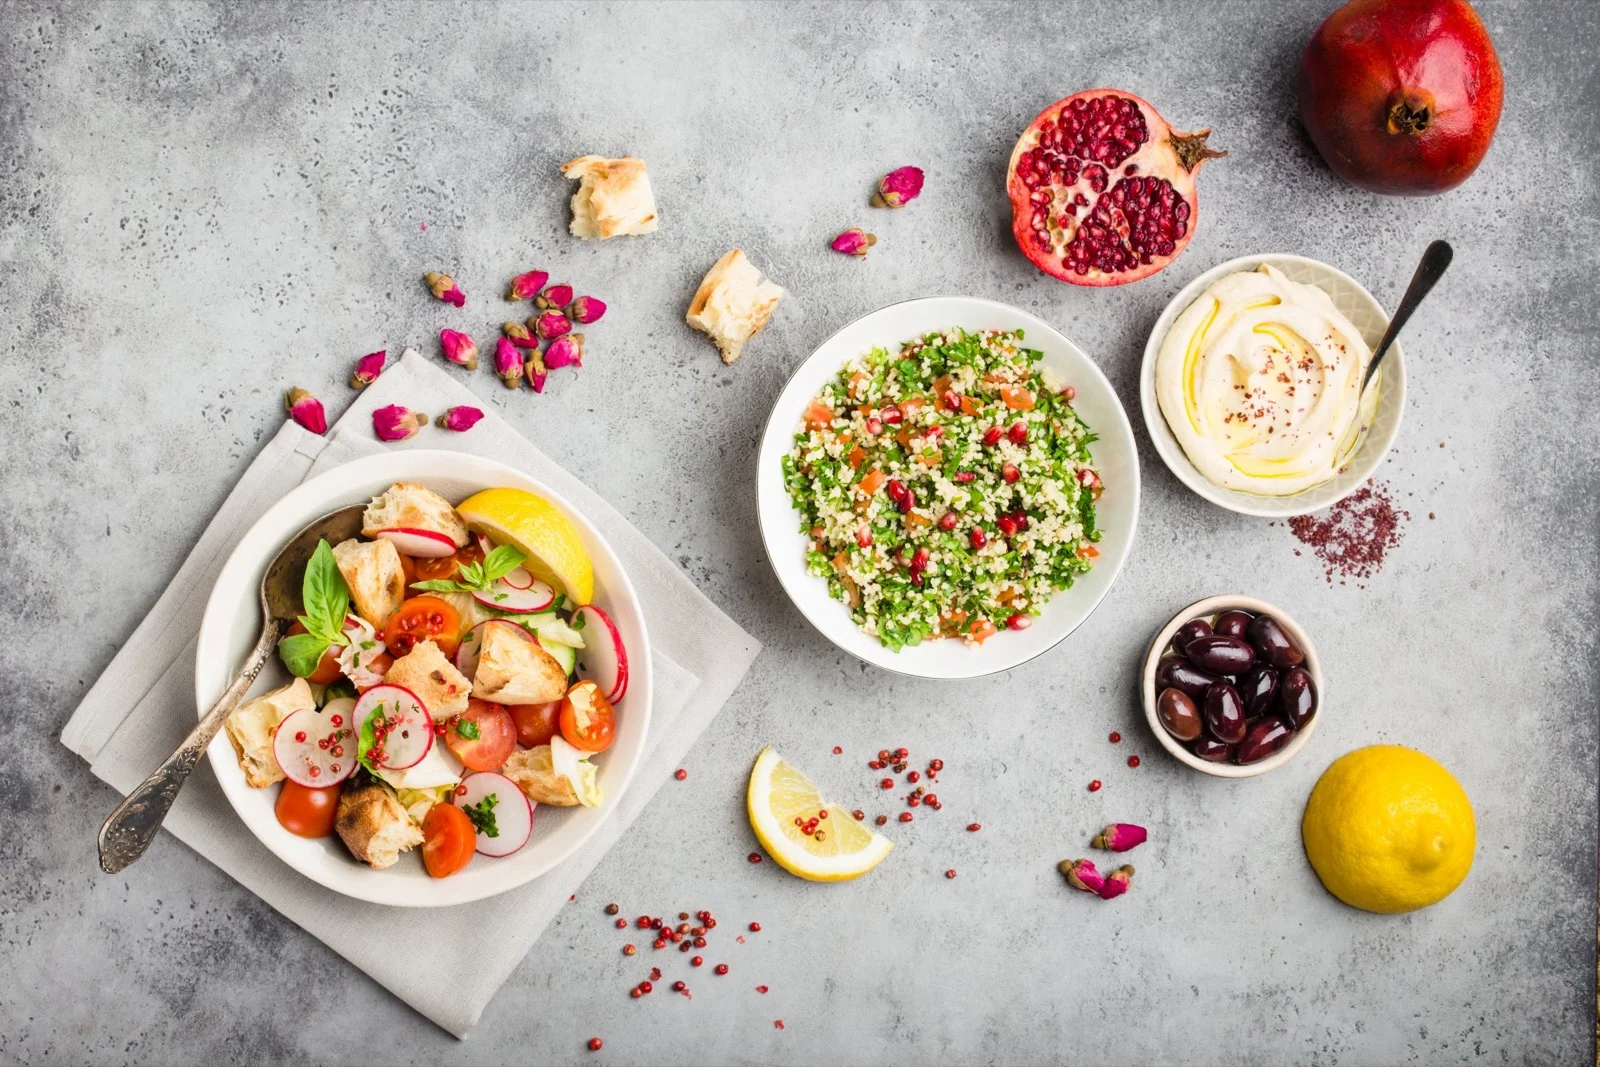
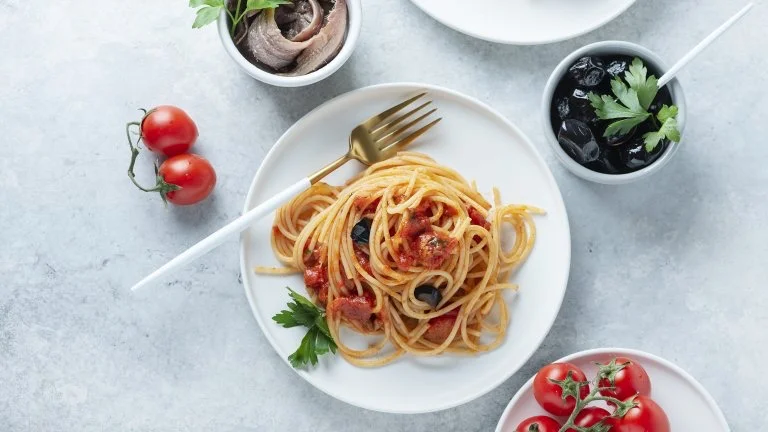
Feature the ingredients that make up your dishes. If they are sometimes hard to see in the final presentation, don't hesitate to place these ingredients whole in the frame. For example, sprigs of fresh herbs will highlight the flavours of your delicious pasta dish! A few whole lemons, chocolate shavings, coffee beans or a glass of milk will add colour and texture to your images.
For even more mouth-watering photos, reduce the cooking time to preserve the colour of the food. Make a vegetable shine with oil applied with a brush, or a fruit with a little sprayed water. These small details will add sparkle to your photographs!
2. Learn to light your dishes and food well
Well-controlled lighting will help your dishes stand out. Contrary to what you might think, controlling your light isn't that complicated! In food photography, natural light is more than enough to light your subjects well. If you have a large window, set up your photo station near it. Then pay attention to these 2 key elements:
Shadow areas
You will notice that part of your dishes is in shadow. To fix this, use a simple piece of white cardboard to reflect light onto the darker area. Experiment by angling your cardboard in different ways to find the angle that best lights your plates.
Overly bright areas
If the light hits your subject too directly or too intensely, you may get overexposed areas. In your photos, overexposed elements will appear completely white and without detail. To easily soften this effect, place a slightly translucent white fabric in front of your light source. You'll get softer, more diffuse lighting.
Don't have ideal conditions for photographing your dishes in natural light? There is affordable, easy-to-use equipment to light your culinary masterpieces well. Accessories like the Flashery Studio Lightbox, a portable mini studio, will help you capture superb photos without breaking the bank!
3. Showcase your dishes with a successful composition
Your dishes and the ingredients that make them up will look more or less appealing depending on the camera's point of view, the type of shot, the lines created by the different elements, and so on. Stimulate your creativity by exploring the following composition ideas in your food photography.
Vary your points of view
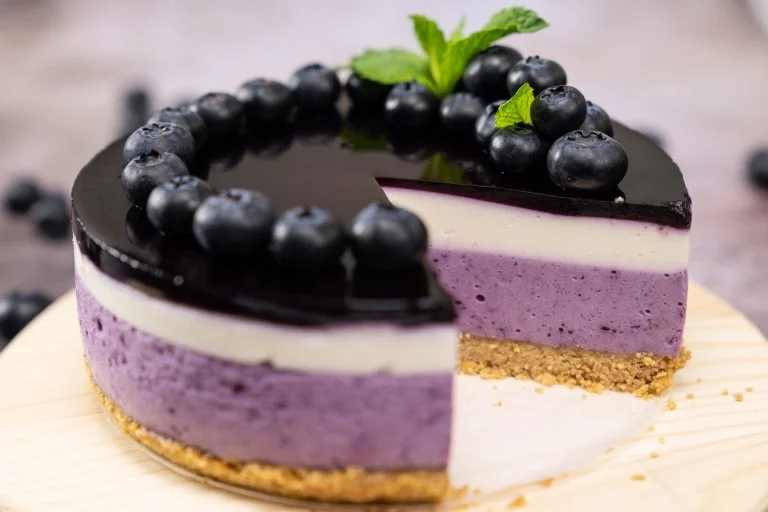
Photographing a layer cake, tacos, a poke bowl… Your different dishes call for different points of view to bring out their best features. So don't just stand in front of your photo station: move around it! Get down to table level, shoot from above over the whole scene, from one side, then the other. You'll find the best angle or angles to showcase each of your dishes.
Arrange your dishes well in the frame
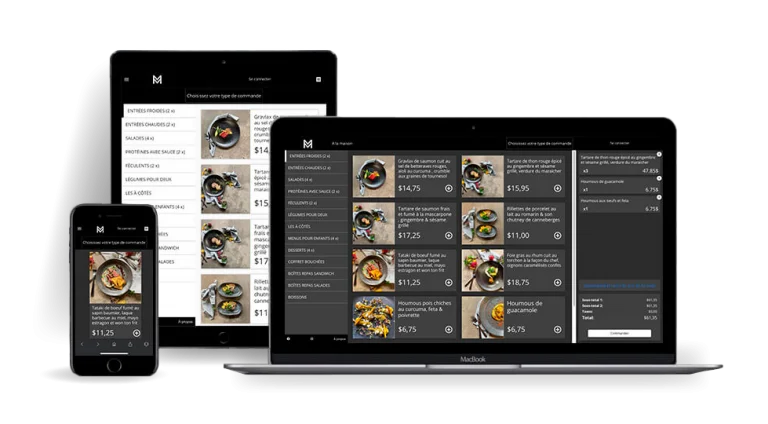
To arrange the elements of your image well, the rule of thirds applies. Imagine dividing your photo into 9 equal spaces and place your star dish on one of the intersections of these lines! Also notice the lines created by the arrangement of your elements: vertical, horizontal, converging lines, S-shaped or triangular composition… Try different arrangements and note which ones create the greatest visual impact!
Present your dishes from their best angle
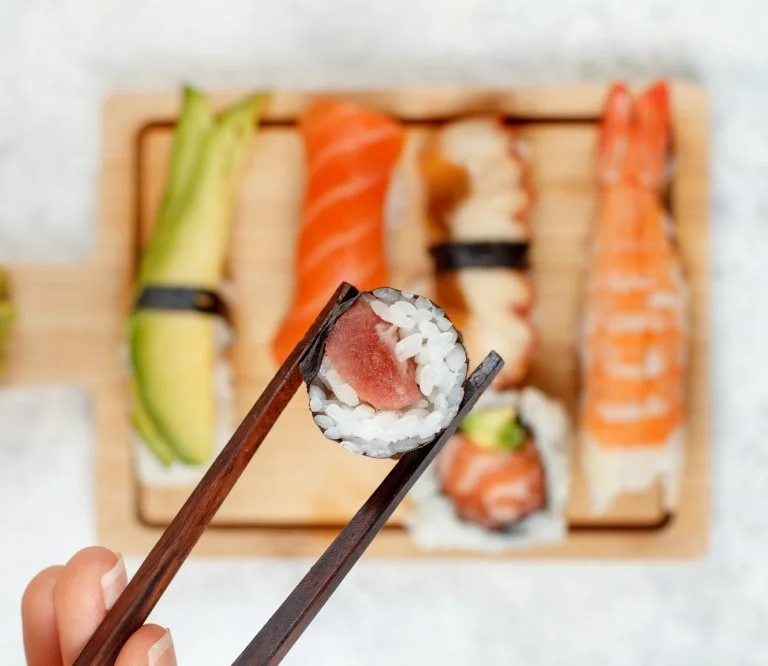
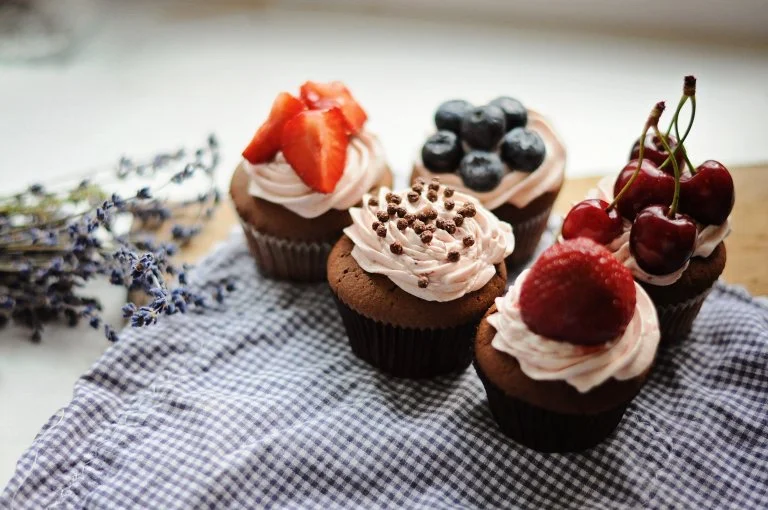
You can photograph food using different shots, ranging from the long shot (very wide) to the extreme close-up (focused on one particular detail). Even if you know that all your dishes taste delicious, not all of them are necessarily "photogenic." So avoid close-ups of dishes in sauce or meats, for example. On the other hand, this shot will beautifully showcase your pastries adorned with meticulous decorations.
In short, the key in food photography: don't be afraid to experiment, and trust your eye! Draw inspiration from Instagram posts, photos in cooking magazines, advertising images… Pay attention to what catches your eye and apply the recipe to your own creations!